Run Windows & Linux Ubuntu Together! Complete Virtual Machine Tutorial
Imagine this: A computer inside your computer! That’s exactly what a Virtual Machine (VM) is. If you’ve ever wanted to run Linux inside Windows (or vice versa), test software safely, or practice ethical hacking without risking your main system, VMs are your digital playground. Let’s walk through everything you need to get started — perfect for beginners
What Is a Virtual Machine?
A virtual machine is a software-based computer that uses part of your system’s CPU, RAM, and storage. This lets you run a completely different operating system inside a window — for example, Ubuntu inside Windows.
Best part? No matter what you do inside the VM, your real system stays totally safe! You can:
- Practice ethical hacking (TryHackMe, Hack The Box)
- Explore new operating systems
- Test software and run experiments in a safe, isolated environment
System Requirements
Run a VM smoothly, you’ll need:o run a VM smoothly, you’ll need:
- A modern computer
- At least 4GB RAM (8GB or more is smoother)
- A CPU with virtualization support (look for Intel VT-x or AMD-V in your BIOS/UEFI)
- 64-bit ISO file of the operating system you want to install (Windows, Kali Linux, Ubuntu, etc.)
Pro Tip: Make sure you download the 64-bit version of your chosen OS’s ISO file.
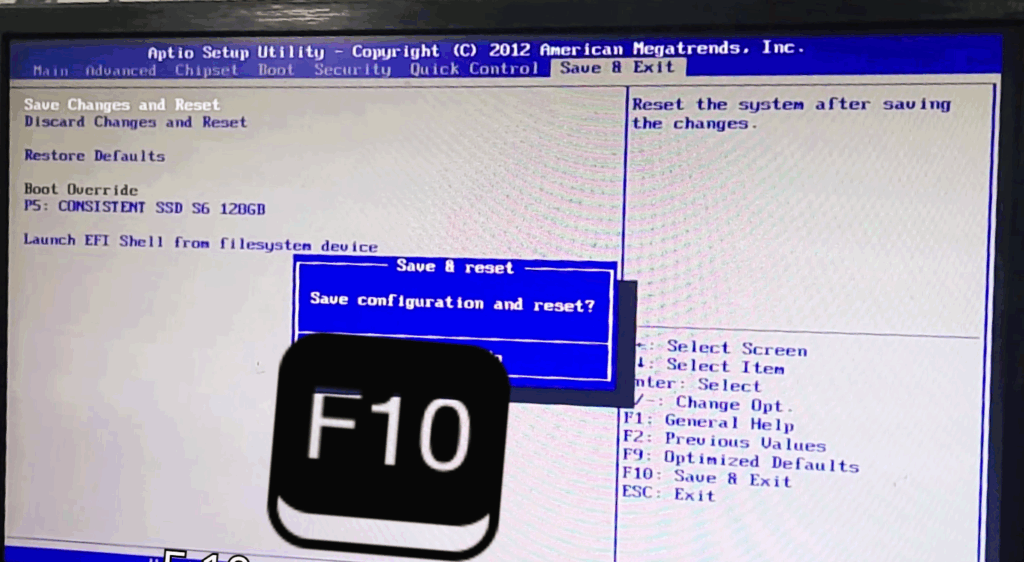
Step 1: Enable Virtualization in BIOS/UEFI
- Restart your computer.
- While booting, keep pressing the BIOS/UEFI key (often F2, F10, F12, Escape, or Delete — check your brand).

- Find settings like “Advanced CPU Configuration” or “Processor Settings.”
- Intel users: Enable “Intel Virtualization Technology (VT-x)”
- AMD users: Enable “SVM Mode” or “AMD-V”
")
- Save changes (usually F10) and exit. Your system will restart.
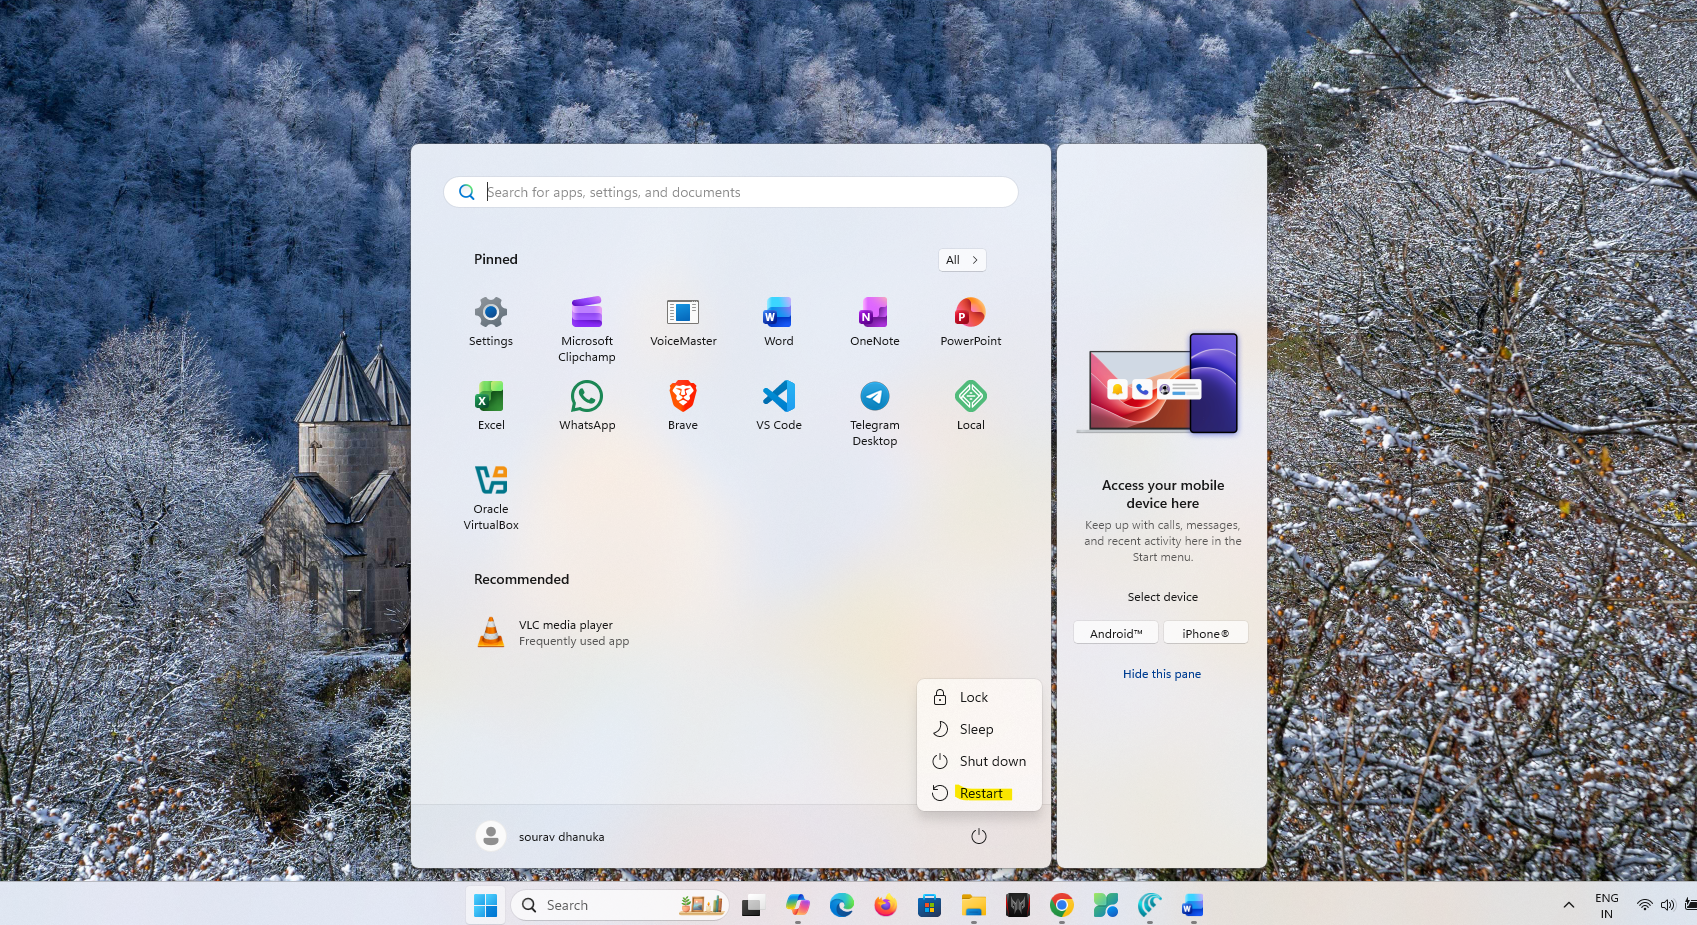
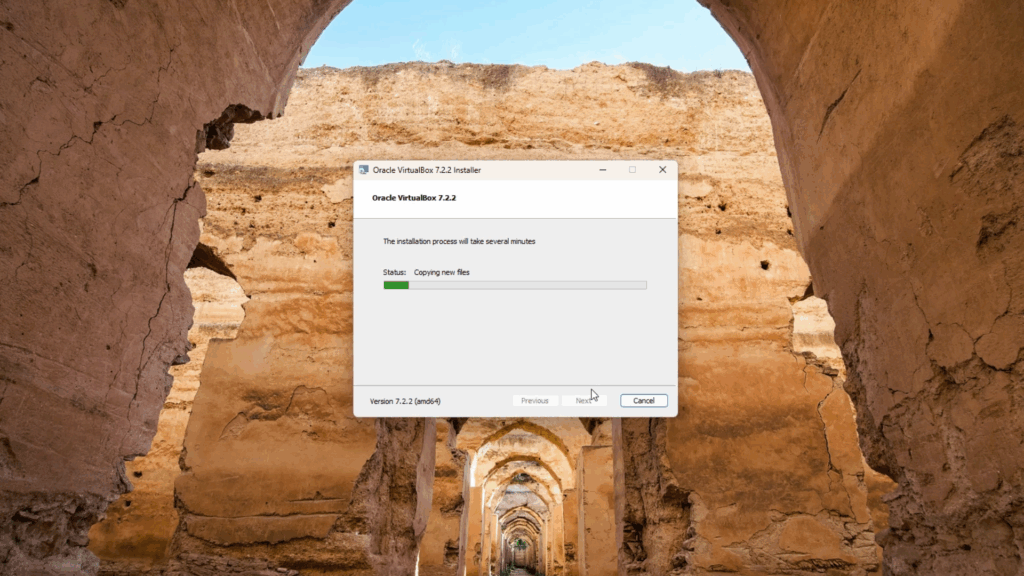
Step 2: Install VirtualBox
- Go to the official Oracle VirtualBox website and download the installer for your OS.
- Run the installer (double-click the icon), click Next, accept agreements, select installation location if you wish, then choose Install and Finish.
Step 3: Download OS ISO File
- Visit the official website of your chosen operating system and download the ISO file.
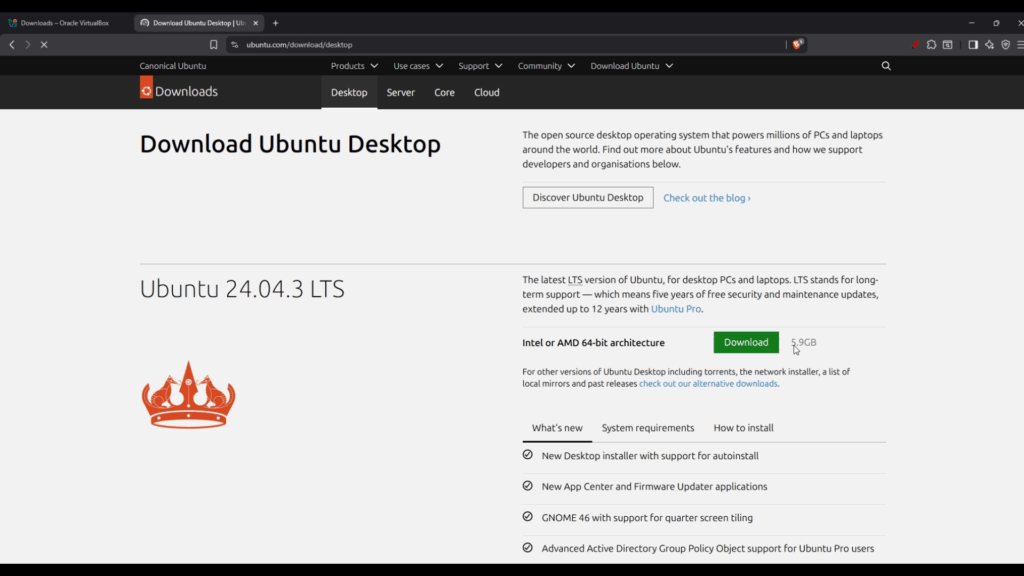
Save it somewhere easy to locate.
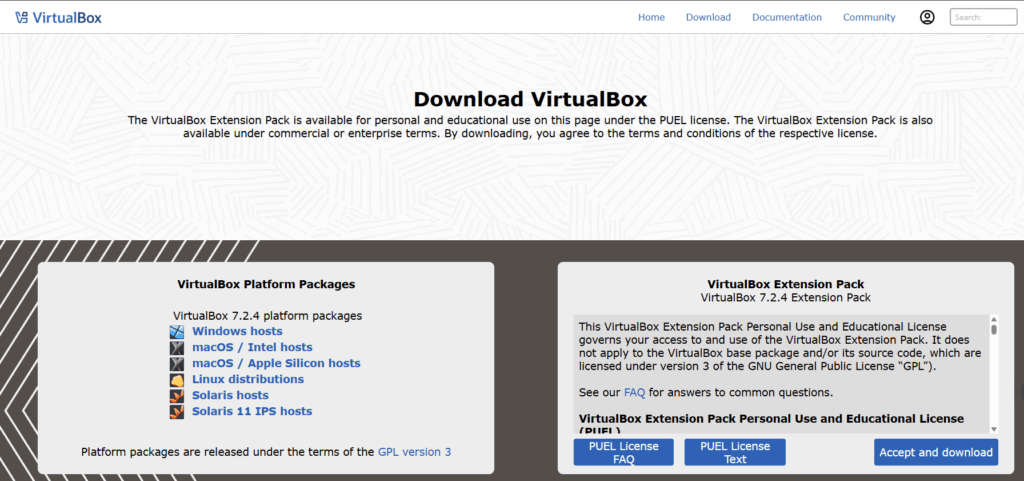
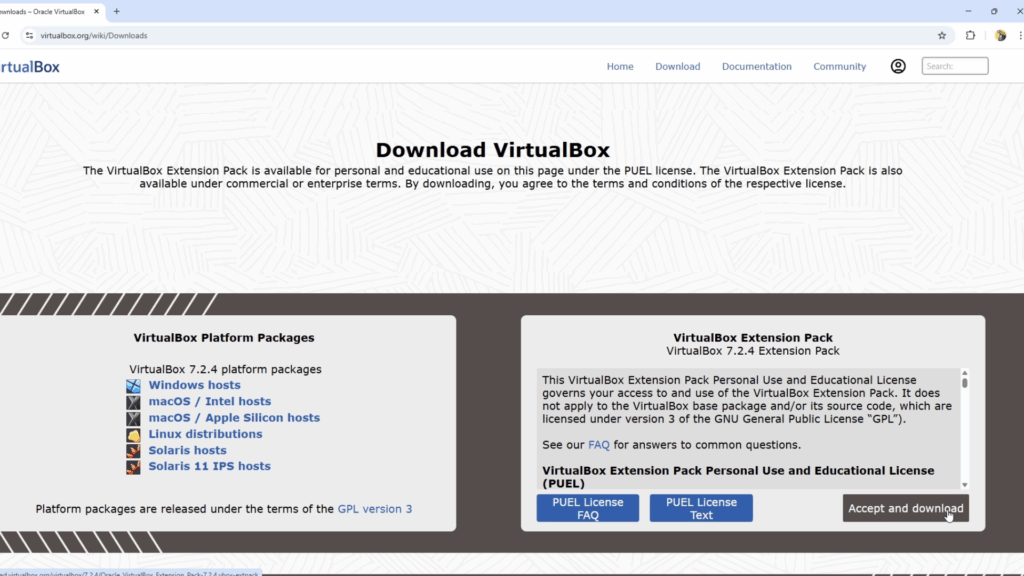
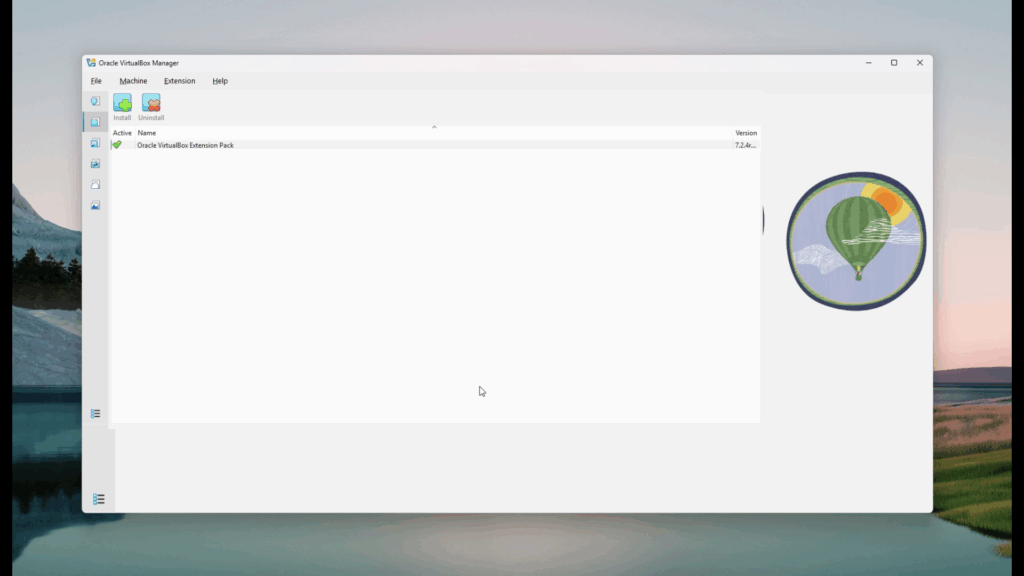
Step 4: Install the VirtualBox Extension Pack (Don’t Skip!)
Why? The Extension Pack unlocks awesome features: USB device support, webcam, disk encryption, and more.
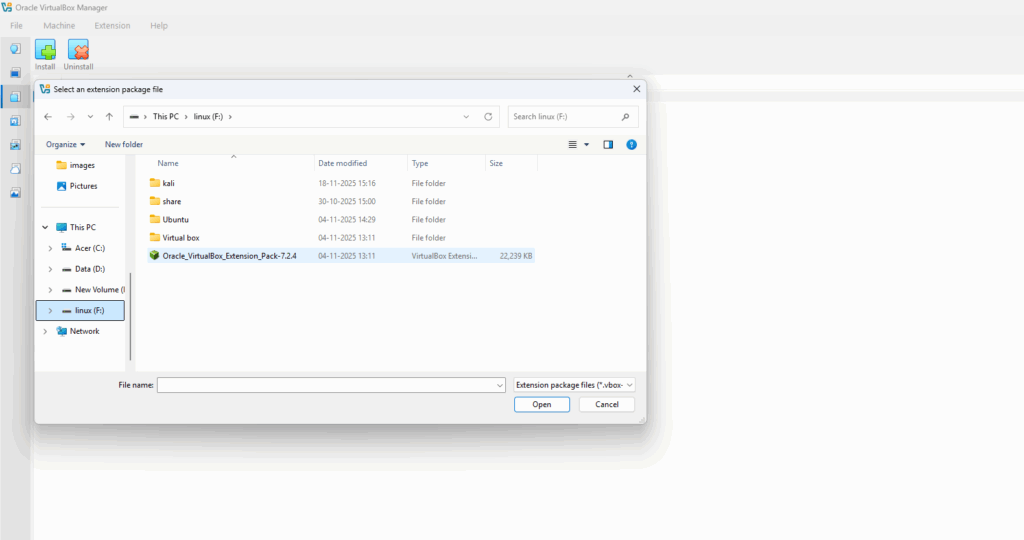
- Download the Extension Pack from VirtualBox’s official website.
- Open VirtualBox.
- Go to File > Tools > Extensions (shortcut: Ctrl+T).
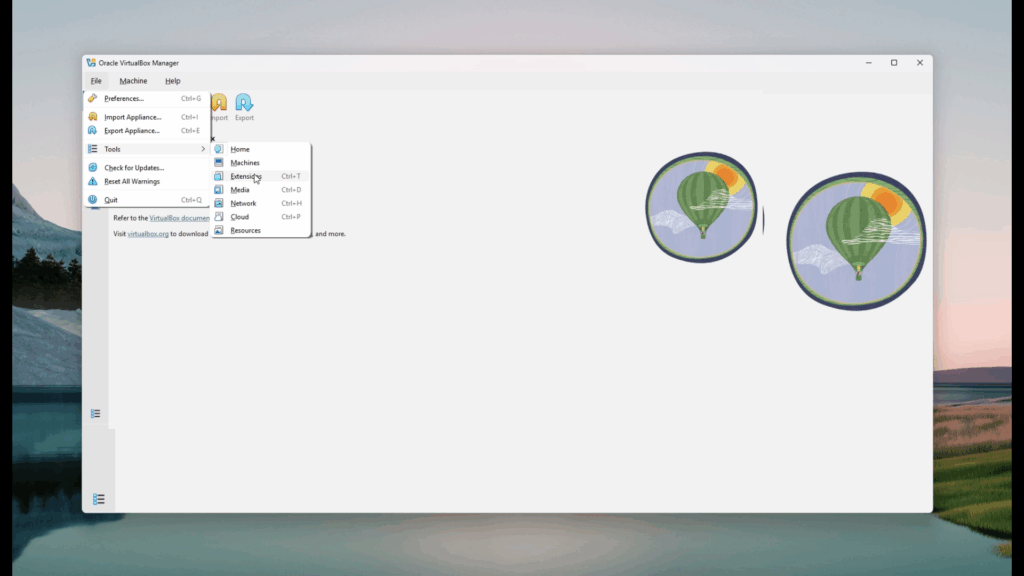
- Click the green plus icon (“Add new Package”), select your downloaded file, and follow the prompts to install.
- On success, you’ll see the Extension Pack listed.
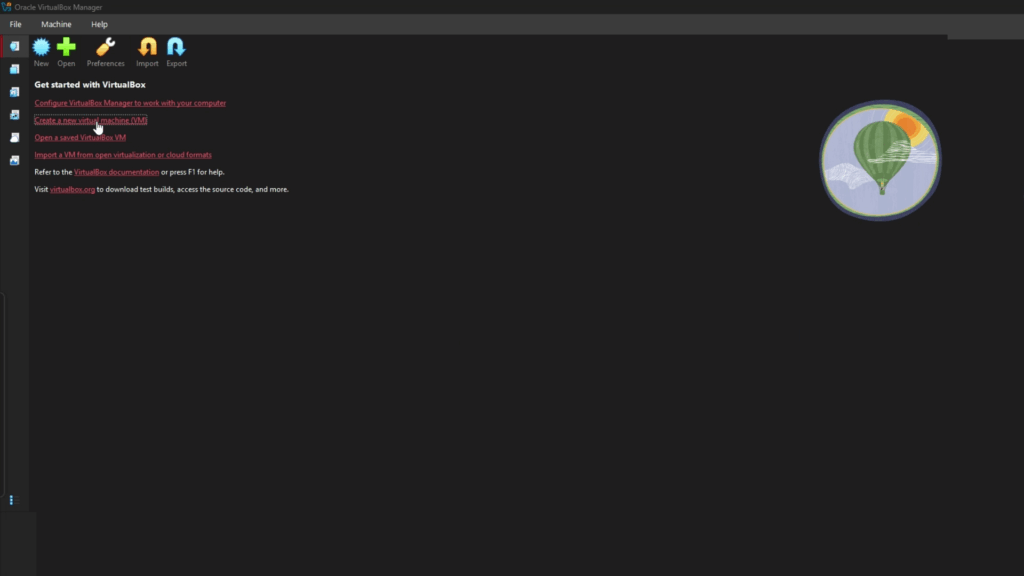
Step 5: Create a New Virtual Machine
- Open VirtualBox and click the New button.
- Name your VM (e.g., “Ubuntu”) and choose a location to store its files.
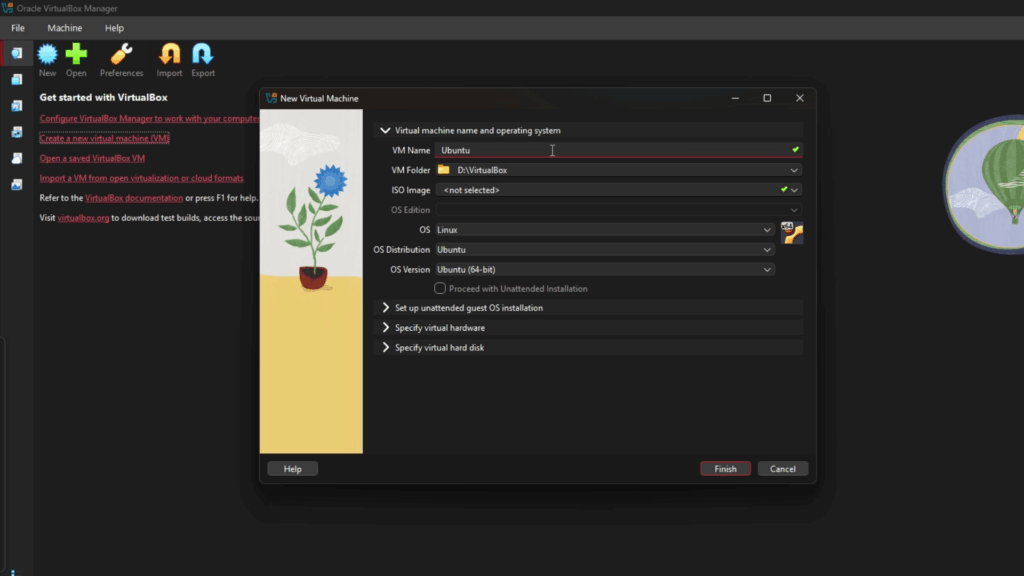
- When prompted, select your downloaded ISO file.
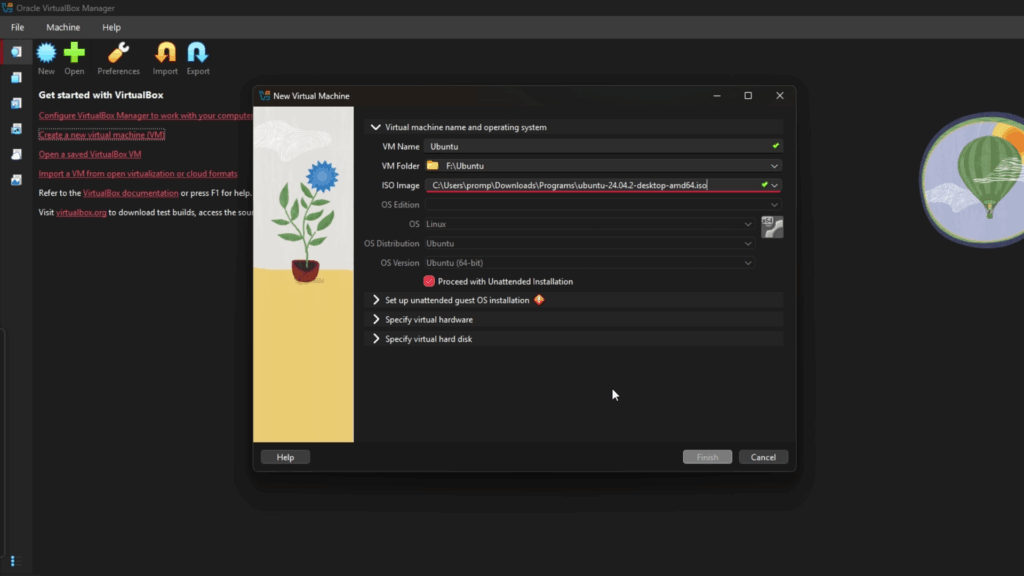
Set Type to “Linux” and Version to “Ubuntu 64-bit”.
- Enter a username and password — this will be used inside your VM.
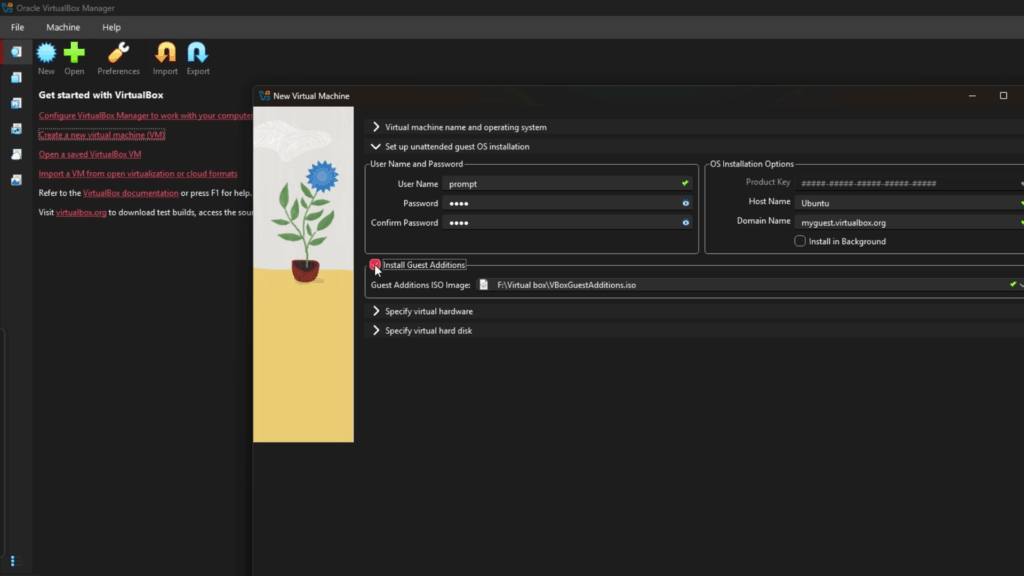
Tick the box for Install Guest Additions (enables drag & drop, full screen, clipboard sharing, etc.).
- Allocate resources:
- RAM: Minimum 2GB, 4GB recommended
- CPU: At least 2GHz; more is better if your computer allows
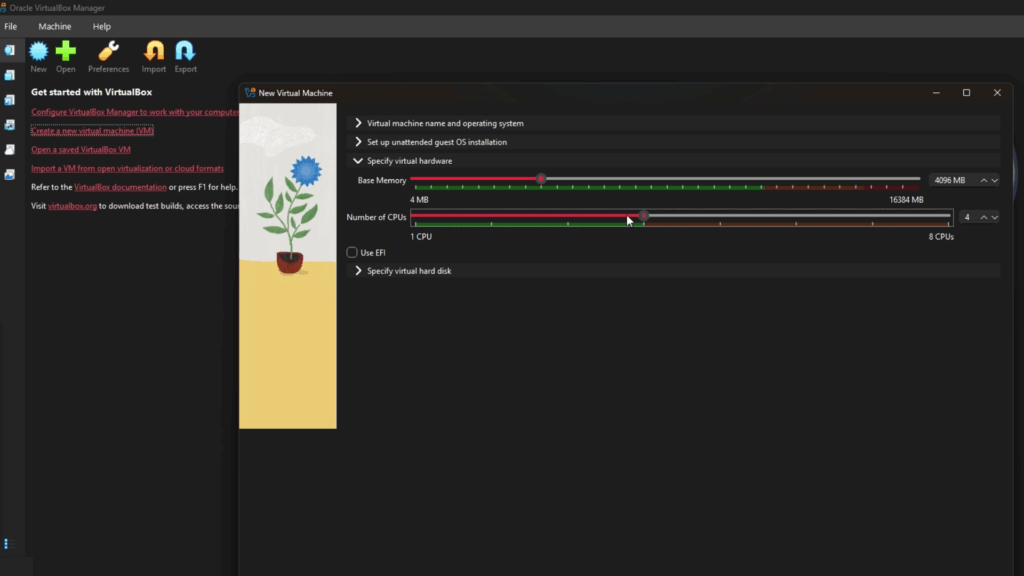
- Storage: VDI type, dynamically allocated, minimum 10GB (30GB recommended for best results)

Review settings. Click Create or Start to begin OS installation.
Step 6: Installing and Using Your New OS
- Follow the on-screen instructions to install the OS inside your VM.
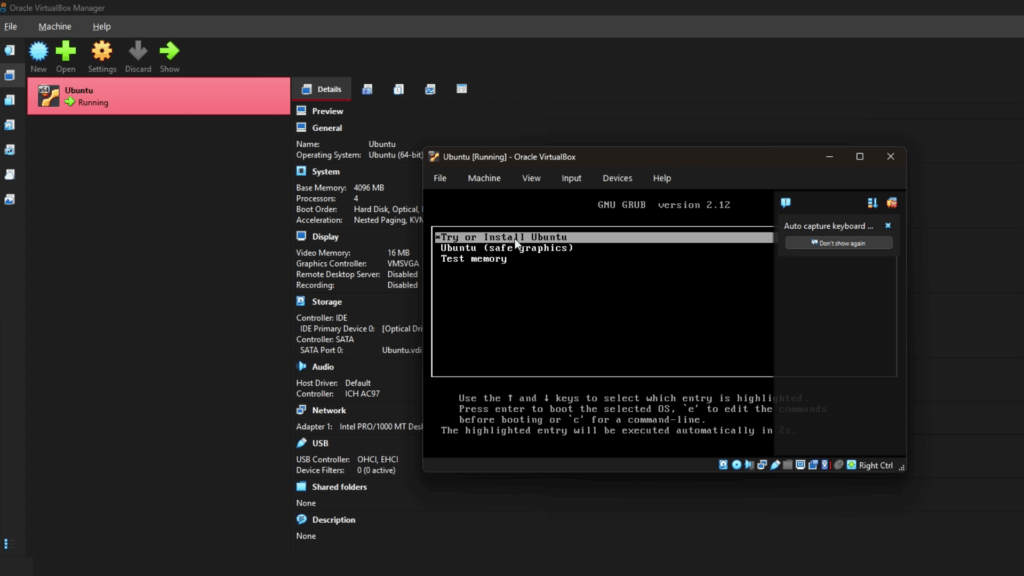
Installation may take 20–30 minutes.
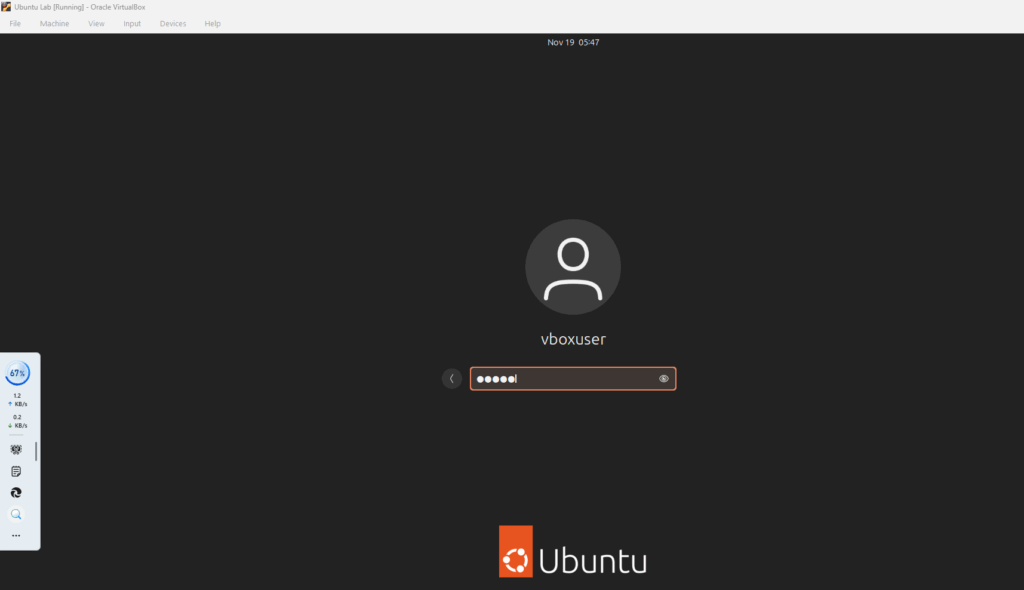
- On first boot, log in with your username/password.
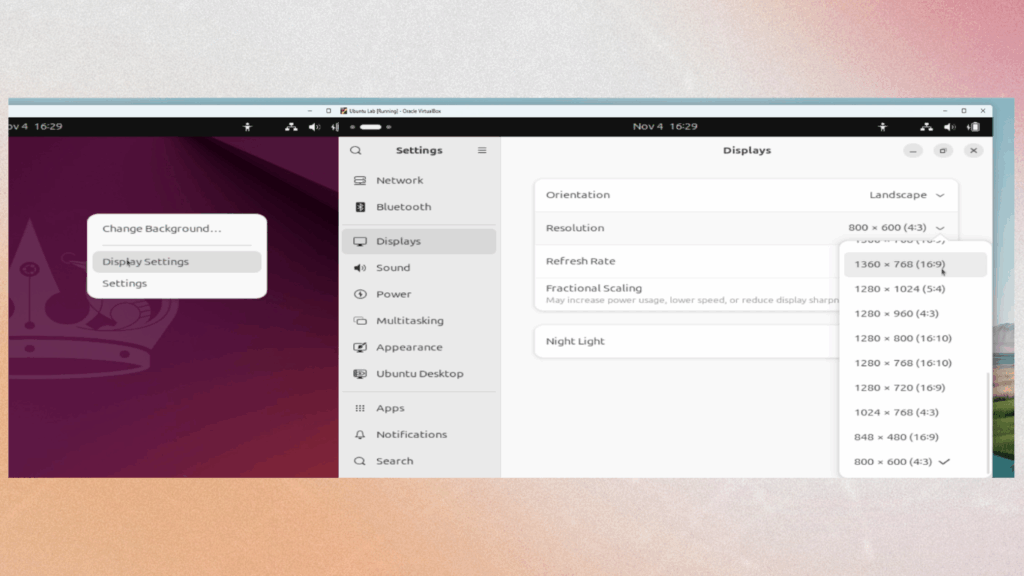
- Adjust your view:
- Right-click the VM desktop > Display Settings for resolution changes.
Step 7: Final Touches – Updating Your System
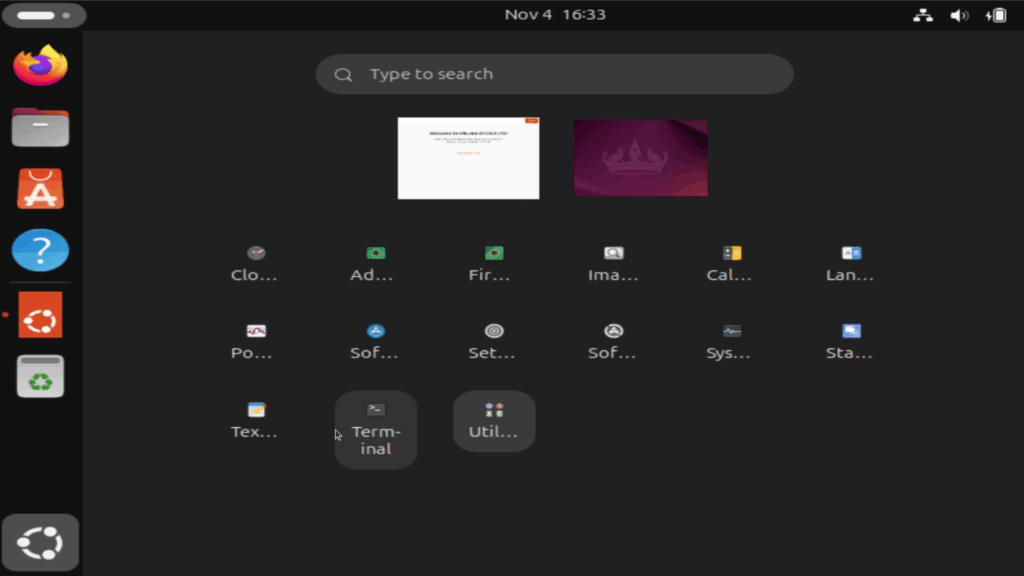
- Open the Terminal (search for “Terminal” in Ubuntu).
- Type:
sudo apt update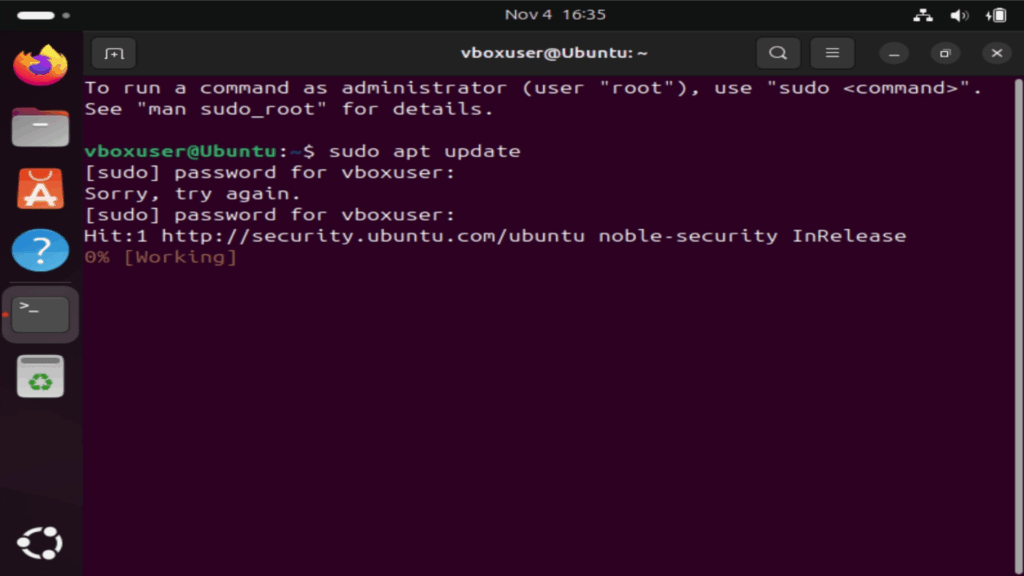
sudo apt update: Command that refreshes your Linux system’s list of available software and updates from the internet, but doesn’t install anything yet.
- After “update” type:
sudo apt upgrade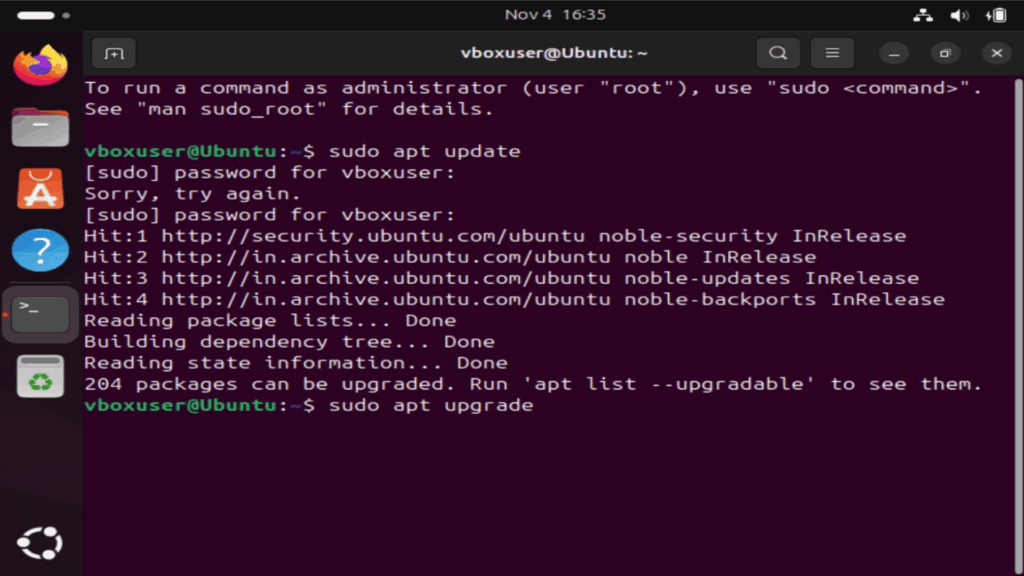
sudo apt upgrade: Command that installs the latest available updates for all your Linux system’s software packages.